Playwright Visual Regression Testing: Day 40
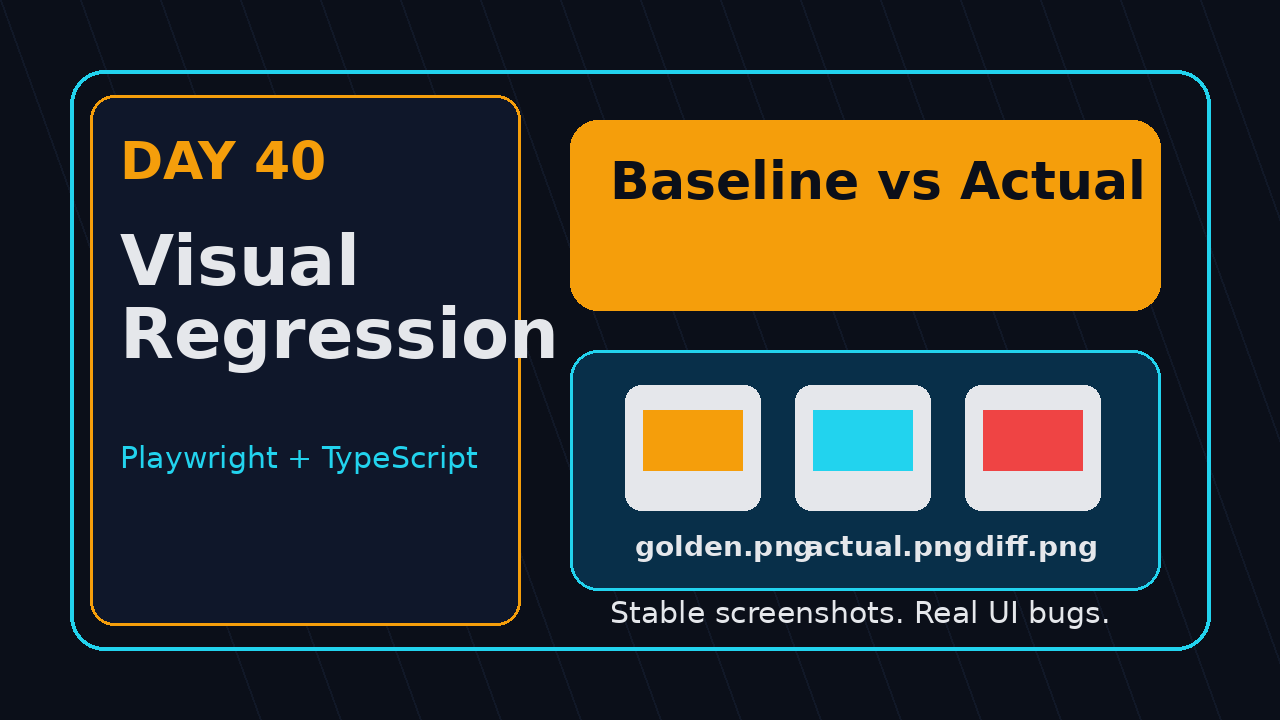
Playwright visual regression testing is where your automated tests stop checking only text and start protecting the actual UI your users see. On Day 40 of this Playwright + TypeScript series, I want you to build a visual baseline workflow that is stable enough for CI, not a screenshot spam machine that fails every morning.
Visual checks are powerful because a page can pass every locator assertion and still look broken. A button can be shifted below the fold, a banner can cover the checkout CTA, a CSS variable can ship with the wrong color, and your normal end-to-end test may still pass.
Table of Contents
- Why Visual Regression Matters
- How Playwright Snapshots Work
- Project Setup for TypeScript
- Write Your First Visual Test
- Make Screenshots Stable
- Thresholds, Masks, and Dynamic UI
- CI Workflow for Visual Regression
- Common Pitfalls I See in Teams
- Key Takeaways
- FAQ
Contents
Why Playwright Visual Regression Testing Matters
I see teams spend months improving selector stability and still miss obvious layout bugs. That is not because their testers are careless. It happens because DOM assertions and visual assertions answer different questions.
A locator assertion asks, “Does this element exist and contain the expected text?” A visual assertion asks, “Does this area still look like the approved version?” You need both when the UI is part of the product contract.
What visual checks catch better than normal assertions
Visual checks are good at catching small changes that create big user impact. They are not a replacement for API, unit, accessibility, or functional tests. They are a narrow but useful gate for visual drift.
- Broken spacing after a CSS refactor
- Wrong font weight, color, or icon state
- Unexpected horizontal scroll on mobile
- Modals, cookie banners, or toast messages covering buttons
- Missing image assets after a deployment
- Layout shifts caused by feature flags or experiments
What visual checks should not do
Do not turn every page into a full-page screenshot comparison. That gives you a large noisy test suite and very little trust. I prefer visual tests for components, critical flows, and pages with real revenue or trust impact.
For example, a checkout summary, pricing card, onboarding screen, dashboard widget, and settings permission table are strong candidates. A marketing page with rotating testimonials and daily content is a weak candidate unless you mask the dynamic zones.
For a broader strategy, I still like this ScrollTest guide on Playwright visual regression strategy. This Day 40 article is the hands-on TypeScript version.
How Playwright Snapshots Work
The official Playwright visual comparisons documentation says Playwright Test can produce and compare screenshots with await expect(page).toHaveScreenshot(). On the first run, Playwright creates reference screenshots. On later runs, it compares the current screenshot against that reference.
That simple model is the main reason I use Playwright visual regression testing in automation training. You do not need a separate visual testing server to start. You can keep baselines in Git, review changes in pull requests, and update snapshots only when the UI change is intentional.
The snapshot lifecycle
- You write a visual assertion in a Playwright test.
- You run the test for the first time and Playwright writes a golden snapshot.
- You commit the snapshot file with your test.
- CI runs the same test after every change.
- If pixels differ beyond your allowed threshold, the test fails.
- You inspect the diff and either fix the bug or update the baseline.
Why environment consistency matters
Playwright warns that browser rendering can vary by operating system, browser version, settings, hardware, power source, fonts, and headless mode. I treat that warning as a rule, not a footnote. Generate and verify baselines in the same environment when you expect deterministic results.
This is where many teams fail. One engineer updates baselines on macOS, CI compares them on Linux, and then everyone blames Playwright. The tool is doing what you asked. The environment is not controlled.
Project Setup for TypeScript
Start with a clean Playwright TypeScript project. The current npm registry response for @playwright/test shows version 1.62.1, and the package continues to be Apache-2.0 licensed. The GitHub API for microsoft/playwright shows more than 93,000 stars, so this is not a niche runner anymore.
mkdir pw-visual-day40
cd pw-visual-day40
npm init -y
npm init playwright@latest
npx playwright install --with-deps
Choose TypeScript when the installer asks. Keep the default test folder. I also recommend you run your first visual examples against Chromium only. After the workflow is stable, add Firefox and WebKit if your product genuinely needs cross-browser visual coverage.
Recommended Playwright config
Here is a practical playwright.config.ts for visual tests. The important part is not the number. The important part is that the browser, viewport, timezone, locale, color scheme, and animation handling are predictable.
import { defineConfig, devices } from '@playwright/test';

export default defineConfig({
  testDir: './tests',
  timeout: 30_000,
  expect: {
    timeout: 5_000,
    toHaveScreenshot: {
      maxDiffPixels: 80,
      animations: 'disabled',
      caret: 'hide',
      scale: 'css'
    }
  },
  use: {
    baseURL: 'https://example.com',
    viewport: { width: 1280, height: 720 },
    colorScheme: 'light',
    locale: 'en-US',
    timezoneId: 'Asia/Kolkata',
    trace: 'retain-on-failure',
    screenshot: 'only-on-failure'
  },
  projects: [
    {
      name: 'chromium-desktop',
      use: { ...devices['Desktop Chrome'] }
    },
    {
      name: 'mobile-chrome',
      use: { ...devices['Pixel 7'] }
    }
  ]
});
If your team is still learning how Playwright project settings affect test behavior, compare this setup with the practical fixtures and selectors used in Playwright drag and drop testing with TypeScript before you scale visual checks across multiple projects.
Write Your First Visual Test
Let us write a small test that checks a landing page hero. I avoid full-page screenshots in the first test because full-page captures include too much changing content. Start with a stable region.
import { test, expect } from '@playwright/test';

test.describe('visual regression: landing page', () => {
  test('hero section matches approved baseline', async ({ page }) => {
    await page.goto('/');

    const hero = page.getByTestId('home-hero');
    await expect(hero).toBeVisible();
    await expect(hero).toHaveScreenshot('home-hero.png');
  });
});
On the first run, Playwright writes the baseline. On the second run, it compares. The official Playwright screenshots guide also shows direct screenshot APIs like page.screenshot() and locator screenshots, but for regression tests I prefer toHaveScreenshot() because it integrates with assertions, diffs, and test output.
Screenshot description for your test report
If you document this test for a team or course, describe the expected screenshot in simple language: “The hero section shows the product headline on the left, the primary CTA below it, and the browser preview card on the right. No cookie banner, toast, or loading skeleton is visible.” That kind of screenshot description helps reviewers decide whether a baseline change is intentional.
Run and update snapshots
# First run creates missing snapshots
npx playwright test tests/visual/landing.spec.ts --project=chromium-desktop

# Use this only after reviewing intentional UI changes
npx playwright test tests/visual/landing.spec.ts --update-snapshots
I do not allow random snapshot updates from every developer machine. In real teams, I prefer a controlled update command, a pull request label, and review from someone who owns the UI.
Make Screenshots Stable
Most visual regression pain comes from unstable screenshots, not from the assertion itself. If your screenshot includes time, random data, ads, animations, videos, cursor blinking, or remote images that load late, your baseline will fail for the wrong reason.
Freeze data before you compare pixels
Your visual test should not depend on whatever the backend returns today. Mock the response for the visual scenario. This keeps your baseline focused on layout and styling.
import { test, expect } from '@playwright/test';

const dashboardData = {
  user: 'Dev QA',
  revenue: '₹12,40,000',
  defects: 7,
  releaseHealth: 'Green'
};

test('dashboard card visual baseline', async ({ page }) => {
  await page.route('**/api/dashboard/summary', async route => {
    await route.fulfill({
      status: 200,
      contentType: 'application/json',
      body: JSON.stringify(dashboardData)
    });
  });

  await page.goto('/dashboard');
  await expect(page.getByTestId('summary-card')).toHaveScreenshot('summary-card.png');
});
This pattern connects directly with the network lessons from Playwright network mocking with TypeScript. Visual testing becomes far more useful when the data is under test control.
Disable animations and wait for UI readiness
Do not depend on arbitrary sleeps. Wait for the state that proves the UI is ready, then take the screenshot. If your app exposes a stable readiness marker, use it.
test('pricing table remains visually stable', async ({ page }) => {
  await page.goto('/pricing');
  await expect(page.getByTestId('pricing-loaded')).toHaveText('ready');
  await expect(page.getByTestId('pricing-table')).toHaveScreenshot('pricing-table.png', {
    animations: 'disabled'
  });
});
Do not hide failures with large thresholds just because the page is unstable. Fix the instability first. Increase tolerance only for small rendering differences you have accepted as safe.
Thresholds, Masks, and Dynamic UI
Good Playwright visual regression testing is strict where it matters and forgiving where the product is designed to change. Playwright lets you set options such as maxDiffPixels, threshold, and masks for dynamic elements.
Use maxDiffPixels for tiny rendering differences
The visual comparisons docs mention that Playwright uses the pixelmatch library for image comparison options. I normally start with maxDiffPixels because it is easy for a reviewer to understand. “Up to 80 pixels may differ” is clearer than an abstract ratio for many QA teams.
await expect(page).toHaveScreenshot('checkout-summary.png', {
  maxDiffPixels: 80
});
For a small card, 80 pixels may be too much. For a full dashboard, it may be too little. Tune tolerance by surface area and risk, not by copying a number from a blog post.
Mask dynamic parts instead of accepting noise
If the timestamp, avatar, order ID, or chart animation changes every run, mask that element. You are not testing whether the clock moved. You are testing whether the layout still matches the approved state.
test('order confirmation visual baseline', async ({ page }) => {
  await page.goto('/orders/confirmed');

  await expect(page.getByTestId('confirmation-panel')).toHaveScreenshot(
    'confirmation-panel.png',
    {
      mask: [
        page.getByTestId('generated-order-id'),
        page.getByTestId('current-time'),
        page.getByTestId('support-chat-widget')
      ],
      maxDiffPixels: 60
    }
  );
});
Prefer locator screenshots for review speed
A failed full-page screenshot often forces reviewers to hunt for the difference. A failed element screenshot points them to the exact area. Use full-page screenshots only for pages where the full layout is the requirement, such as invoices, print previews, emails, or landing pages.
Screenshot review checklist
Before I approve a changed baseline, I use a short checklist. First, I confirm the user story or design ticket explains the change. Second, I open the Playwright HTML report and compare expected, actual, and diff images side by side. Third, I check whether the failure is isolated to one component or repeated across many pages. A repeated failure often points to a shared CSS token, font, or layout container.
Fourth, I rerun the test once in the same CI image if the diff looks like anti-aliasing or font rendering. Fifth, I ask whether a smaller locator screenshot would make the test more useful. This review discipline matters more than the assertion syntax. Without it, visual tests become another noisy gate that teams bypass during release pressure.
CI Workflow for Playwright Visual Regression Testing
The best visual test suite is useless if your CI process turns it into noise. I use a simple rule: CI compares snapshots, pull requests review snapshot changes, and only intentional changes update baselines.
GitHub Actions example
name: visual-regression

on:
  pull_request:
    branches: [main]

jobs:
  visual:
    runs-on: ubuntu-latest
    steps:
      - uses: actions/checkout@v4
      - uses: actions/setup-node@v4
        with:
          node-version: 22
      - name: Install dependencies
        run: npm ci
      - name: Install Playwright browsers
        run: npx playwright install --with-deps chromium
      - name: Run visual tests
        run: npx playwright test tests/visual --project=chromium-desktop
      - name: Upload Playwright report
        if: always()
        uses: actions/upload-artifact@v4
        with:
          name: playwright-report
          path: playwright-report/
In Indian service teams, I often see visual tests added late in a project because the customer complains about UI polish. Product companies usually add them earlier for checkout, onboarding, design system, and growth experiments. Both groups can use the same workflow, but the ownership model matters.
Baseline update policy
Use a clear baseline policy. Here is the one I recommend for teams:
- Only update snapshots in a dedicated pull request or a clearly labeled UI change PR.
- Review the diff image before approval.
- Do not update snapshots from a dirty local environment.
- Keep viewport and browser projects stable.
- Store snapshots close to the tests so reviewers see code and baseline together.
If a visual failure appears with a functional failure, fix the functional failure first. A broken API response can create a visual diff that is not a CSS bug.
Common Pitfalls I See in Teams
Playwright visual regression testing is easy to start and easy to misuse. These are the mistakes I see repeatedly when SDETs add screenshots to an existing framework.
Pitfall 1: Screenshotting the whole app
A full-page screenshot for every route feels productive for one week. Then the team starts ignoring failures. Target the surfaces that matter. Good visual coverage is curated, not exhaustive.
Pitfall 2: Updating baselines without review
If every failed visual test gets fixed with --update-snapshots, you have built an approval bypass. The diff is the artifact. Review it like code.
Pitfall 3: Comparing against live data
Live data creates unstable baselines. Use mocked responses, seeded test accounts, or API setup. If your content changes daily, visual snapshots will fail daily.
Pitfall 4: Ignoring mobile viewports
Desktop visual checks are not enough if most users are mobile. Add one mobile project for the flows that matter. Do not create five mobile projects on day one. Start with one stable device profile and expand only when failures teach you something.
Pitfall 5: Mixing debugging screenshots with visual assertions
page.screenshot() is useful for debugging and artifacts. expect(locator).toHaveScreenshot() is better for regression assertions. Keep those purposes separate. Your framework stays cleaner.
If you are debugging failed visual tests, the workflow in Playwright Trace Viewer for AI-generated tests will save time. Pair the screenshot diff with trace viewer and the HTML report before blaming the baseline.
Key Takeaways for Playwright Visual Regression Testing
Playwright visual regression testing gives QA teams a practical way to protect layout, styling, and critical UI surfaces without buying another tool on day one.
- Use visual assertions for high-risk UI, not every page.
- Prefer locator screenshots over full-page screenshots for stable review.
- Control data, viewport, browser, locale, timezone, and animations.
- Mask dynamic elements instead of increasing tolerance blindly.
- Review snapshot updates in pull requests like any other production change.
My simple rule: if a human reviewer would care about the visual change, automate a focused visual check. If nobody cares, do not add a snapshot just to increase test count.
FAQ
Is Playwright visual regression testing enough for complete UI quality?
No. It is one layer. You still need functional tests, accessibility checks, API tests, unit tests, and human review for new design work. Visual regression is best for catching unexpected visual drift after an approved baseline exists.
Should I commit Playwright snapshot files to Git?
Yes, if you use Playwright’s built-in snapshot workflow. The baseline is part of the test. Keep it close to the spec file and review changes in pull requests.
How many visual tests should a team start with?
Start with 5 to 10 focused visual tests across critical flows: login, checkout, pricing, dashboard, and one mobile layout. Stabilize those before expanding.
Should I use maxDiffPixels or threshold?
Use maxDiffPixels first because it is easy to explain during review. Use threshold when you understand the image size and want ratio-based tolerance.
Can I run visual tests in CI only?
Yes, and I recommend CI as the source of truth for baseline comparison. Developers can run visual tests locally for feedback, but baseline updates should follow a controlled review process.